The default Xcode project template includes a storyboard for our application content. In this post, we’ll go over the steps we need to take to convert this project from storyboard for coded UI. The screenshots included in the post are from Xcode 13, but the steps should be pretty much identical for Xcode 12 and 11.
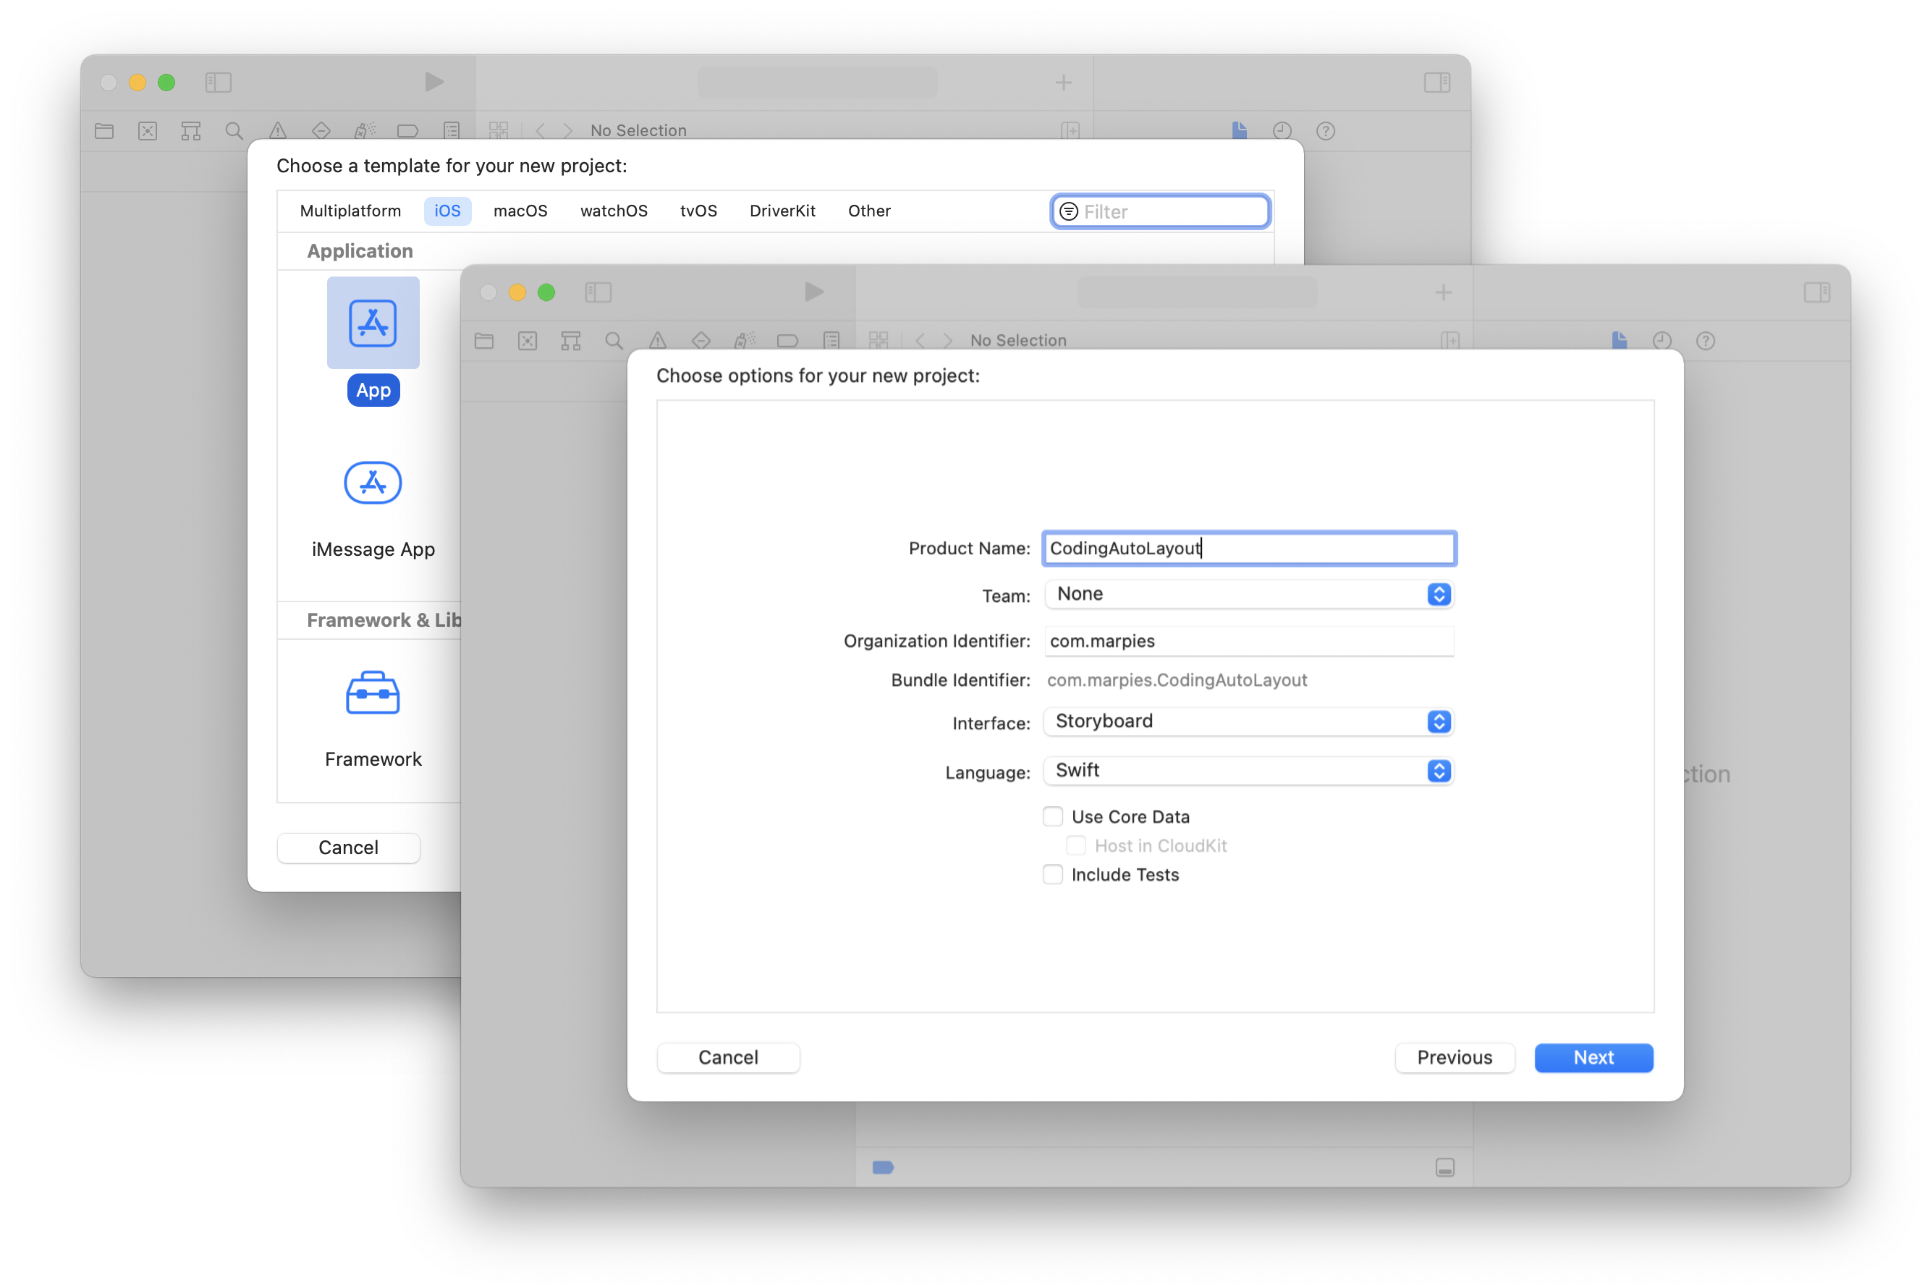
Let’s start by creating a new iOS project by selecting the App template. In the next step, we need to choose the Storyboard option for the Interface type:
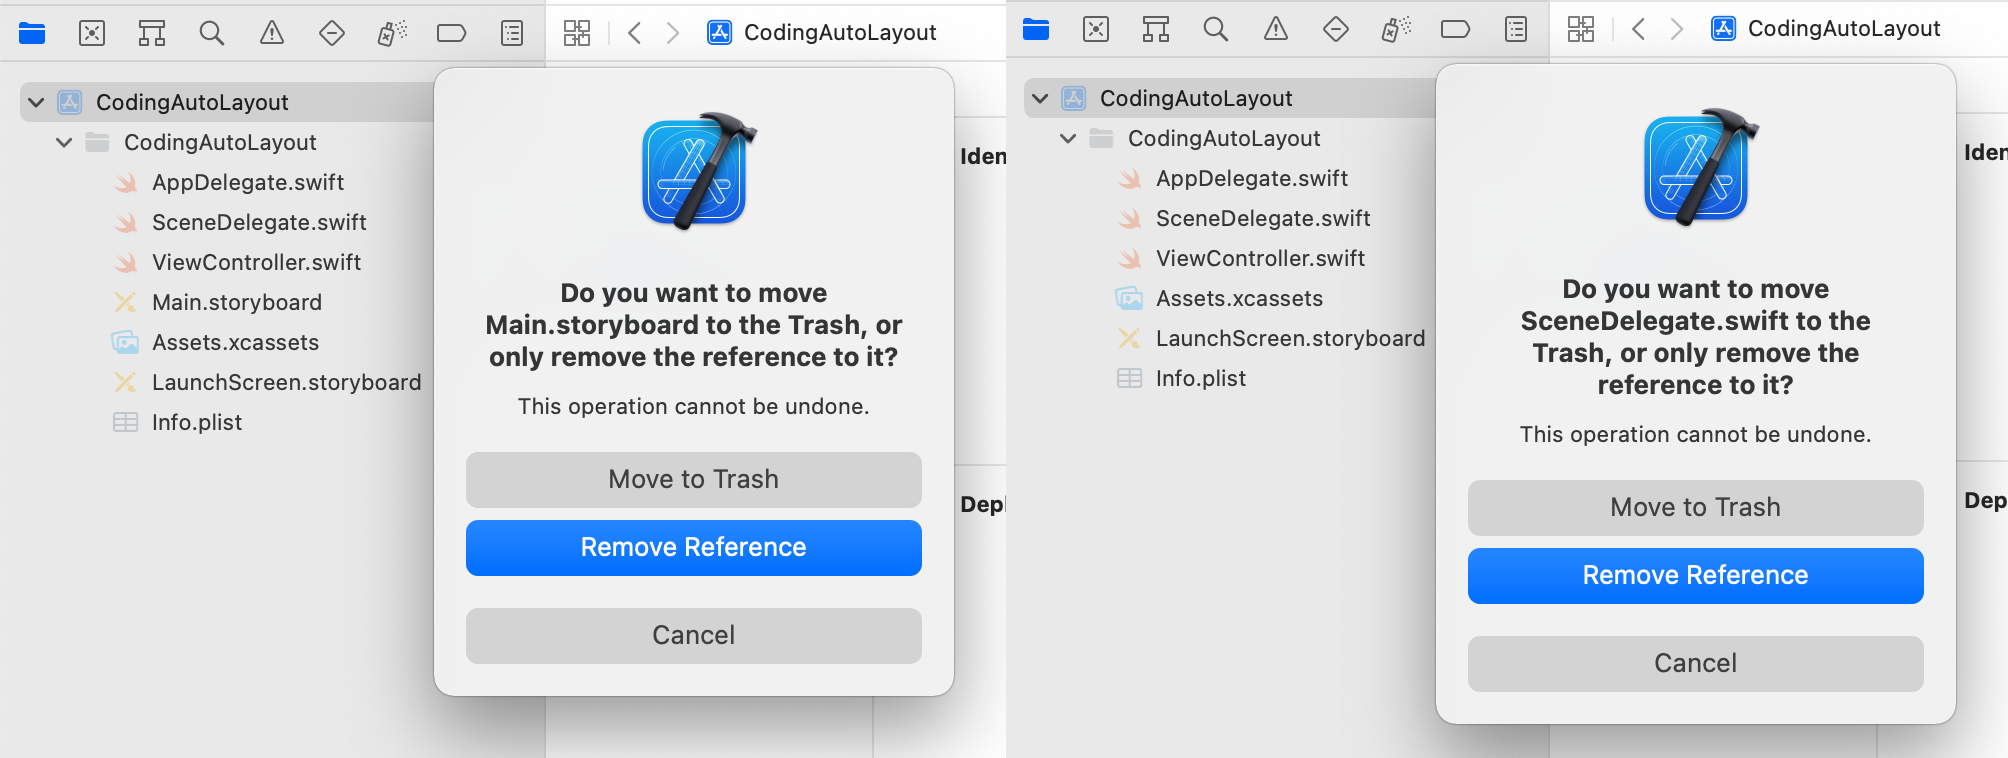
In the Project Navigator (⌘ + 1), we can see the default project files. We can delete the Main.storyboard file as it has no use for us in this series. The same thing can be said for the SceneDelegate.swift file — this file is useful when we want to support multitasking (or multi–window feature) in our app — we won’t worry about that for now. When deleting the files from the project, you can choose the Move to Trash to have it removed from the project folder completely:
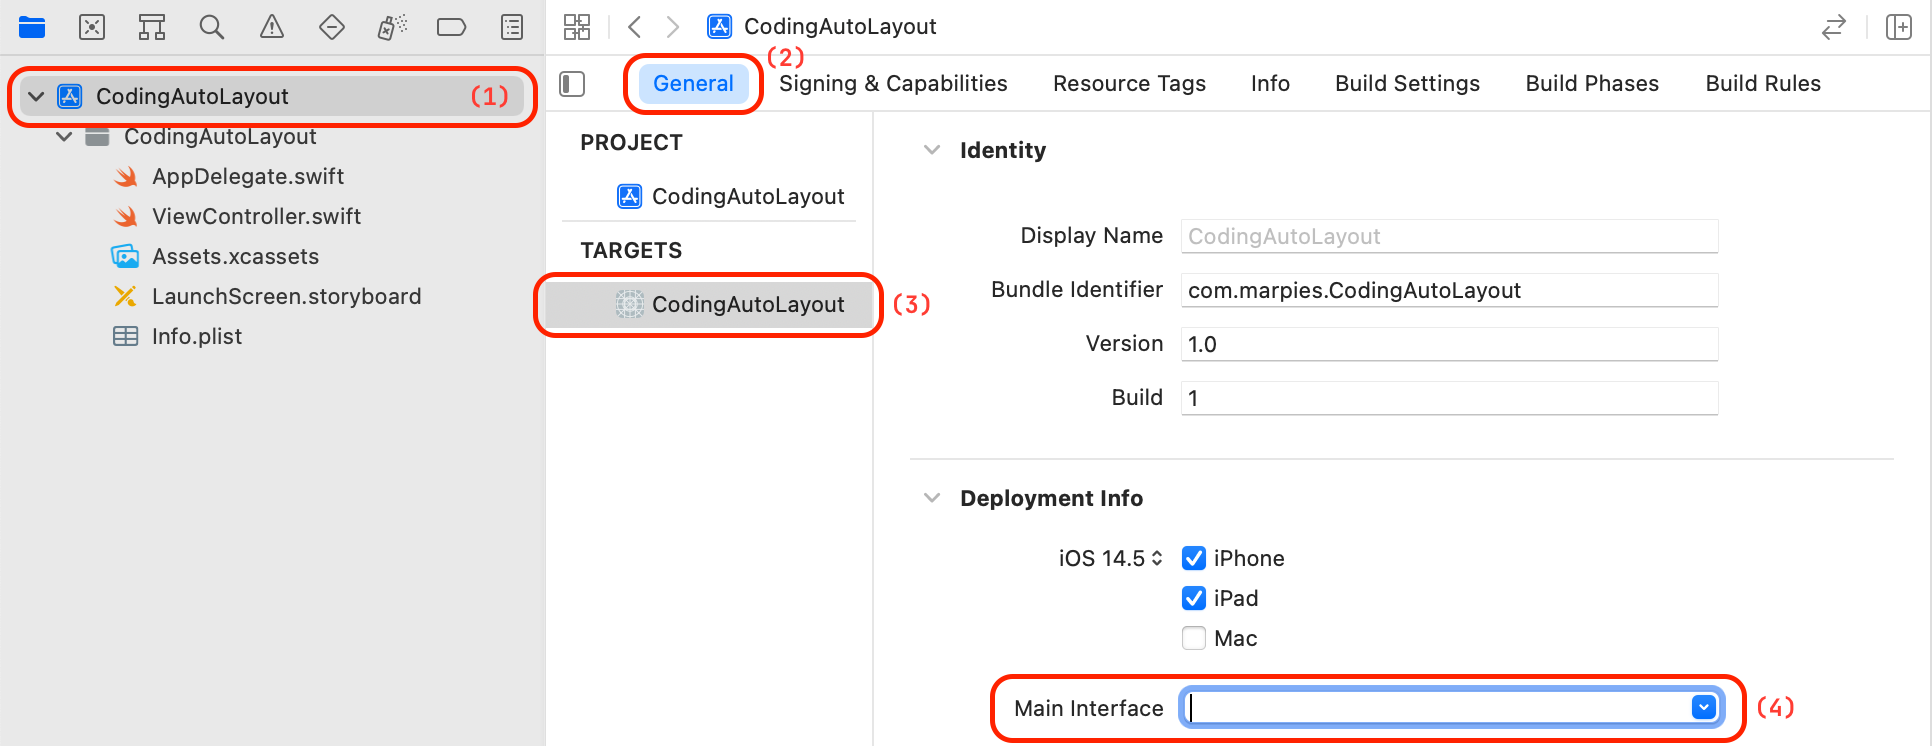
Next, we need to tell Xcode that we do not intend to use Storyboards and remove the reference to the Main.storyboard file we just deleted from the application target:
- Select the root project file in the Project Navigator
- Select the General tab
- Select the application target
- Clear out the value for the Main Interface option
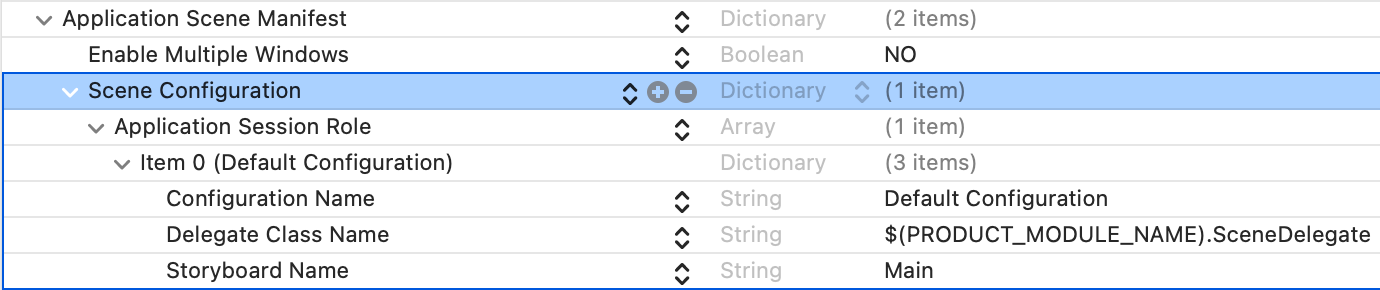
Since we also deleted the SceneDelegate.swift file, we need to remove the reference to it as well. We can do so by editing the Info.plist file. Select the file and delete the Scene Configuration key located under Application Scene Manifest.
Finally, we’ll edit the the AppDelegate.swift to create an instance of UIWindow to be able to display our initial UIViewController. Select the delegate file and delete all the methods except for application(_:didFinishLaunchingWithOptions:) -> Bool so that the file looks like this:
import UIKit

@main
class AppDelegate: UIResponder, UIApplicationDelegate {

    func application(_ application: UIApplication, didFinishLaunchingWithOptions launchOptions: [UIApplication.LaunchOptionsKey: Any]?) -> Bool {
        // Override point for customization after application launch.
        return true
    }

}
Now we just need to add our window, assign the root view controller, and we are done. Our AppDelegate now should look as follows:
import UIKit
@main
class AppDelegate: UIResponder, UIApplicationDelegate {
var window: UIWindow?
func application(_ application: UIApplication, didFinishLaunchingWithOptions launchOptions: [UIApplication.LaunchOptionsKey: Any]?) -> Bool {
// Root view controller
let rootVC = ViewController()
// Setup window
self.window = UIWindow(frame: UIScreen.main.bounds)
self.window?.rootViewController = rootVC
self.window?.makeKeyAndVisible()
return true
}
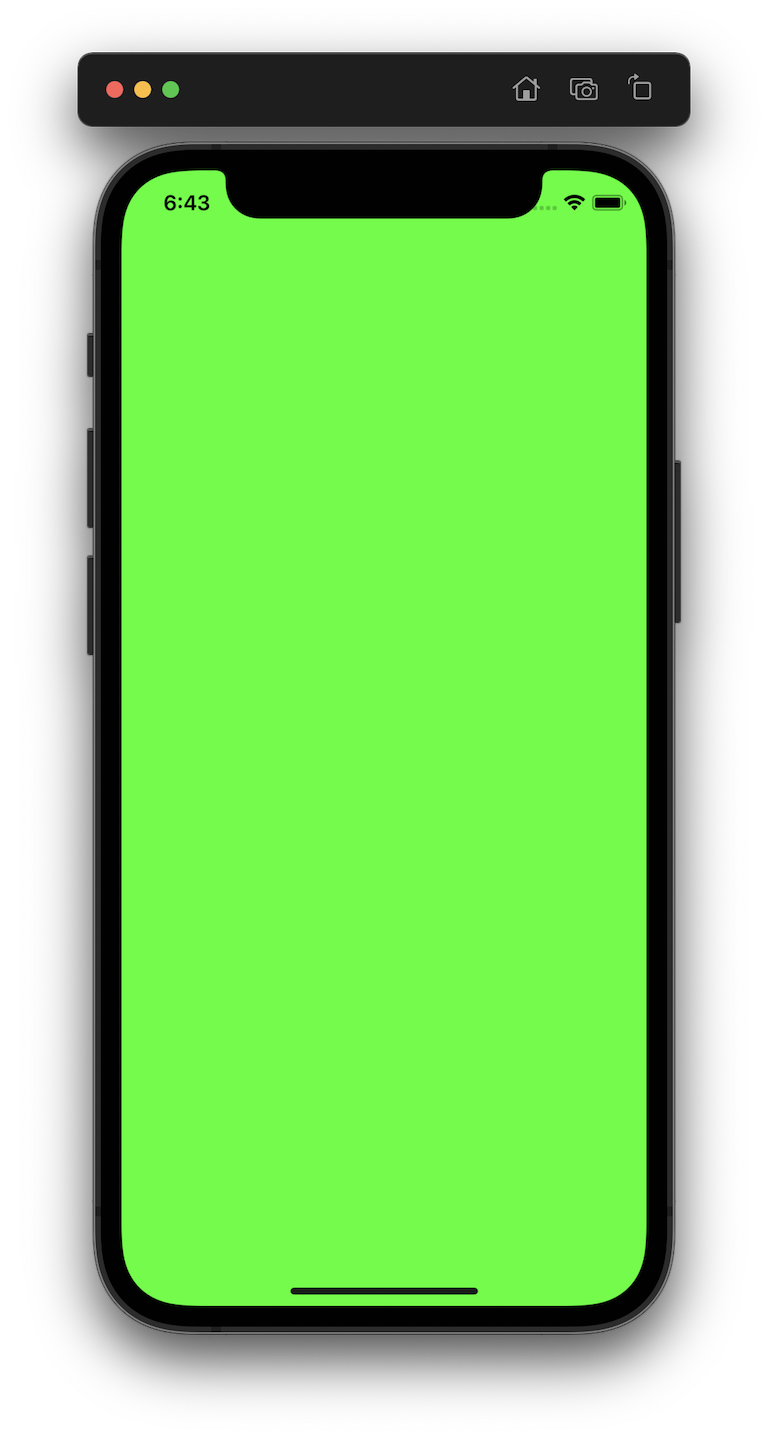
}To confirm everything works, let’s select the ViewController.swift file and set a green background in the viewDidLoad() method:
class ViewController: UIViewController {

    override func viewDidLoad() {
        super.viewDidLoad()

        self.view.backgroundColor = .green
    }

}
Hit ⌘ + R to build and run the project in the selected simulator or a physical device. When launched, you should see a blank green screen. We are now all set for writing our Auto Layout code!
Custom Xcode project template
While we can always repeat the steps above for every new project we create, there’s also another way. Xcode allows creating custom project templates so that a new project is already configured for us as we’ve seen above. Keith Harrison has created a template for a new project that does not use storyboards. Follow the steps shown in this GitHub repository if you want to save yourself a minute or two when creating new projects!
Where to next
- Intro
- Basics, Part One
- Basics, Part Two
- Xcode Setup (reading now)
- Sign Up Screen
- Stack Views
- Custom UIAlert
- Players Profile
- Twitter Timeline
- Twitter Profile
- Music Album